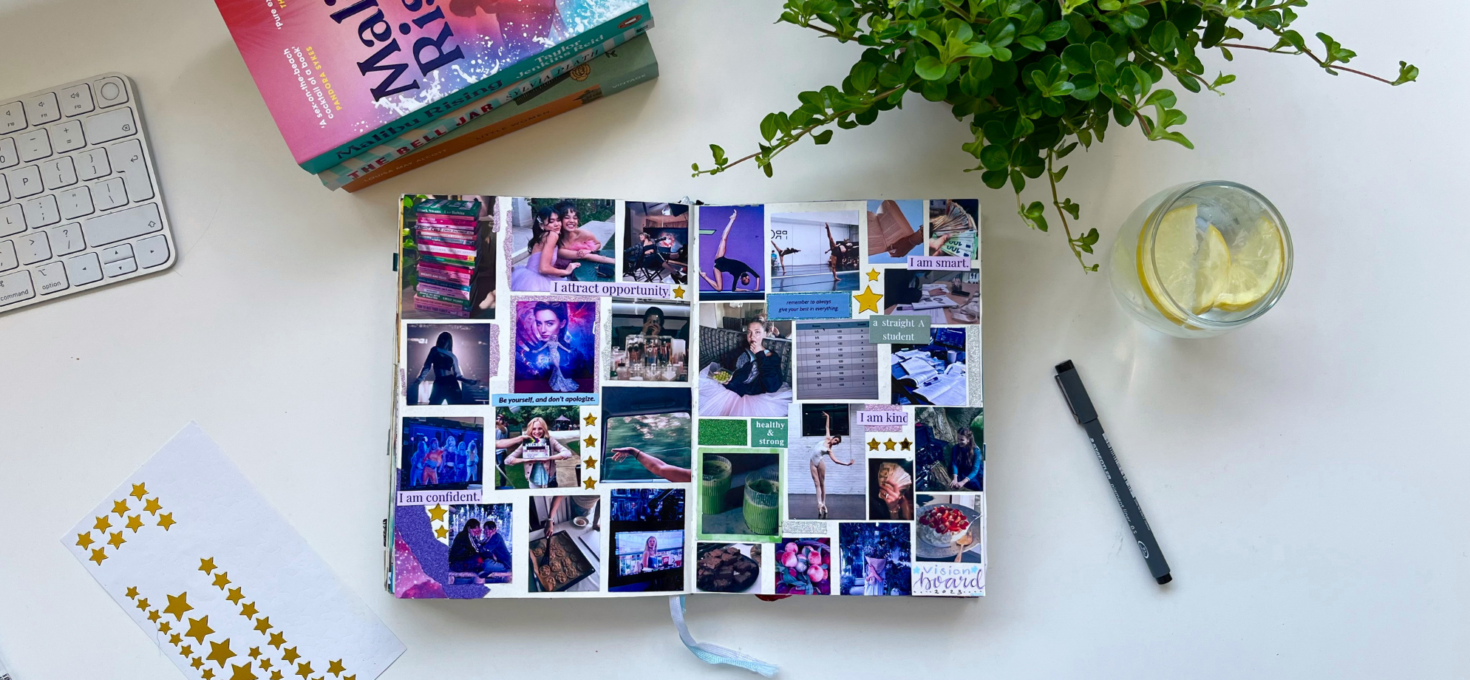
One of my favorite ways to look back on life is to flip through my journal. It’s such a good depiction of what phases I went through, what holidays I went on, the music, people and movies I was obsessed with.
I always like to make my journal spreads little pages of art. Pictures, stickers, lettering and all sorts of paper come together to make the page look exactly like the topic feels to me.
In this post, I’d love to share my favorite pens, papers, tapes and products that I use for my journal!
The journal
Let’s start at the base: the journal itself!
My journal is from this Dutch brand called “My bullet journal” by Mus Creative. The exact cover I got is not available anymore (because I’ve had it for YEARS), but there are loads of very pretty editions.
What I like most about this journal is that it’s very sturdy. I’ve been using it since 2018 and it’s still in a really good condition. It also lays flat really well which makes it easy to work in. I love that the cover is a flexible plastic kind of layer which protects the journal a bit because I throw it in every bag to take with me and it still looks fine. There have even been times I accidentally spilled a drink over it and I was so lucky that it’s easy to wipe down.
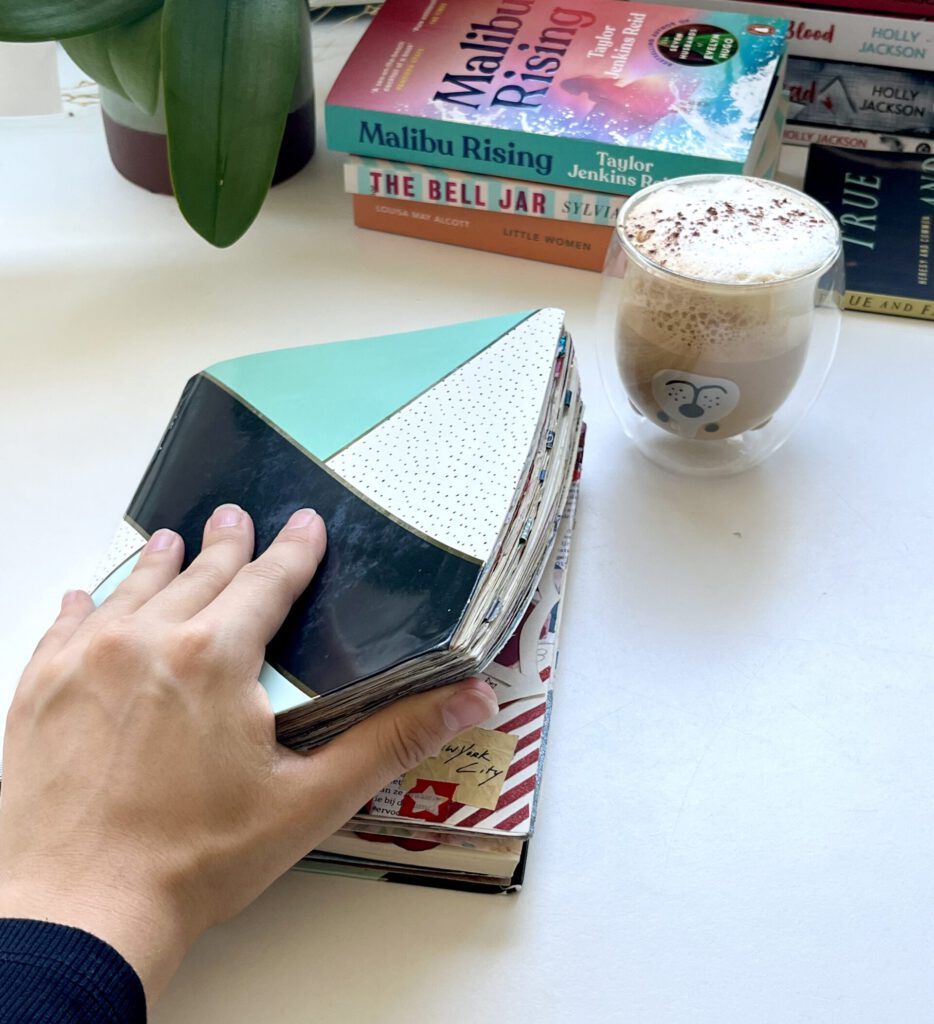
The size of a page in my journal is 15,8 x 21,4 cm. In my opinion that’s really on the big side. There is a lot of space to fill and smaller pages would suffice. Especially since when you flip it open you have twice this area, which is more than A4. On the other hand, the extra space does come in handy sometimes. Like when I want to feature lots of characters from a TV-show, have some bigger pictures or make a little flip-feature on the page (or when I just have a lot to write about the topic). I will always make it work, but I wouldn’t say it’s necessary. Now that I’m used to it though, I probably won’t go smaller any time soon.
Depending on what you’re going to use your journal for, you might choose a different size. Are you going to use it as a travel journal? maybe go a bit smaller. Do you want a coffee table photo scrapbook? Go bigger! Just pick a size that’s practical for you.
The journal I’m using has a LOT of pages. I don’t think I’m even halfway and there is already quite a bit in it. I do like that it is starting to kind of bulge out haha. It looks very well used in a good way. As I mentioned, I have been using mine since 2018 but I do have to say that there have been years I barely did any pages. it’s not a consistent thing with me. I love that I can flip through it and see my life in phases, since I was 14. Every year I like to do an ‘update’ page where I talk about my life. You can also choose to fill one book every year (if you’re a bit more consistent than me) so you’ll have a sort of archive per year later!
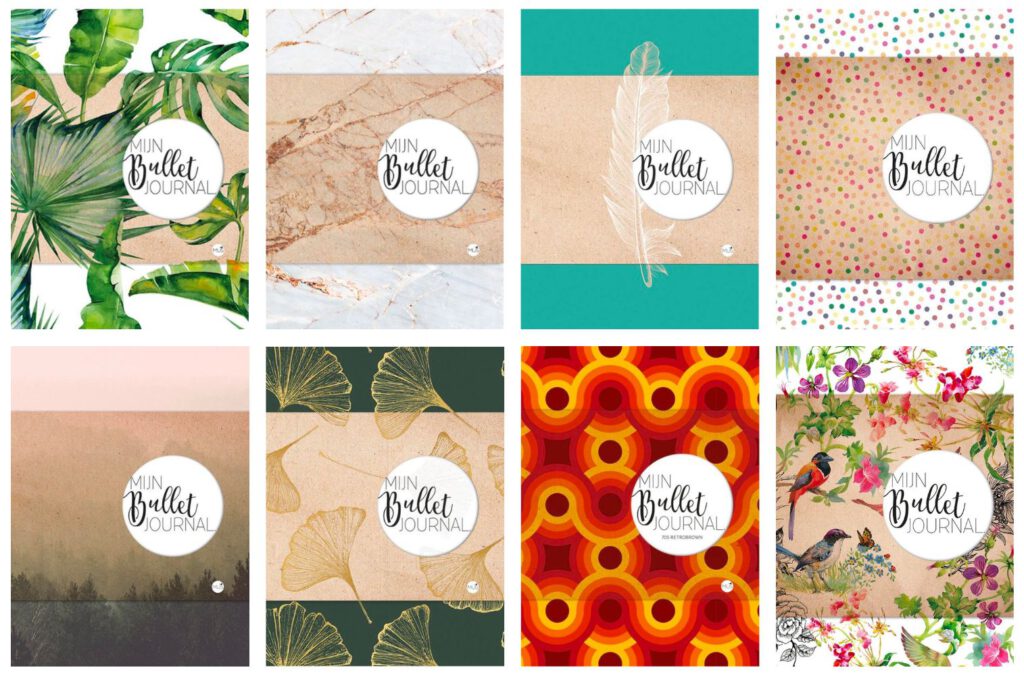
Other journal brands that I’ve heard lots of good things about are Moleskine and Leuchtturm. Both of these brands have plain journals available in very pretty colors. I recommend getting one that has dotted inside pages (hence the ‘bullet’ in bullet journal). These brands are both really good quality. I’ve been using Moleskine as my agenda for YEARS now and don’t want anything else. So If you’re looking for something plain to maybe decorate yourself? Definitely take a look at those brands. These journals range in price anywhere between €12,- and €26,-.
Want to save some money, but still start your journaling journey? Don’t let the costs hold you back. Any notebook from a dollar store will work as a journal! Maybe the quality won’t be as great or hold up for as long as a more expensive one, but who cares, just pick one you like and get started!
Pens and markers
Now for my favorite tools for writing and lettering. I’ll share 4 of my go-to’s with you and talk about what I use them for and what my opinions are.
This is that kind of thing that your collection will grow of as time goes on. You don’t ‘need’ anything to start out. There are no ‘requirements’ before you can start. Any pen, pencil or marker will do. The more you create however, the more you’ll want to experiment or wish for a marker with a certain color, coverage or line thickness. That’s why I’ll share my favorites that I’ve collected over the years.
My absolute favorite purchase I ever made in this category are my beloved Gelly Roll moonlights. I use them for every single spread. They are so BRIGHT even on black paper and they roll so smoothly. I found out about them a long time ago when I saw a girl that had made a gorgeous page on black paper with these popping colors so I was like “I NEED those now”, immediately ordered them and haven’t stopped loving them.
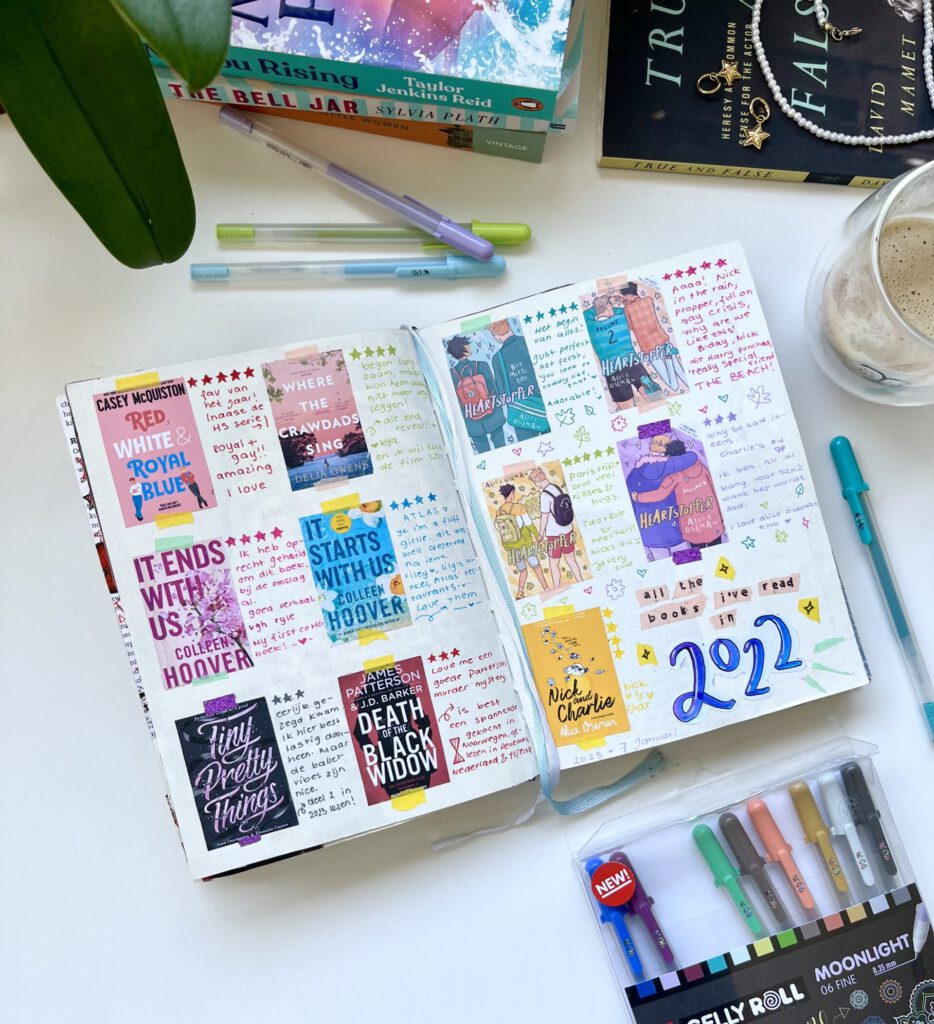
This brand also has a ‘stardust’(glitter) version and a metallic version. I think I’ll order the stardust one day to test out, but for now I’m super content with my moonlights. They’re great for writing, doodling, outlining etc.
If there’s anything you take away from this post, let it be these. I will never stop recommending these pens. Ask them for Christmas, your birthday or just treat yourself to them but don’t miss out on these. Click the button below to check them out <3
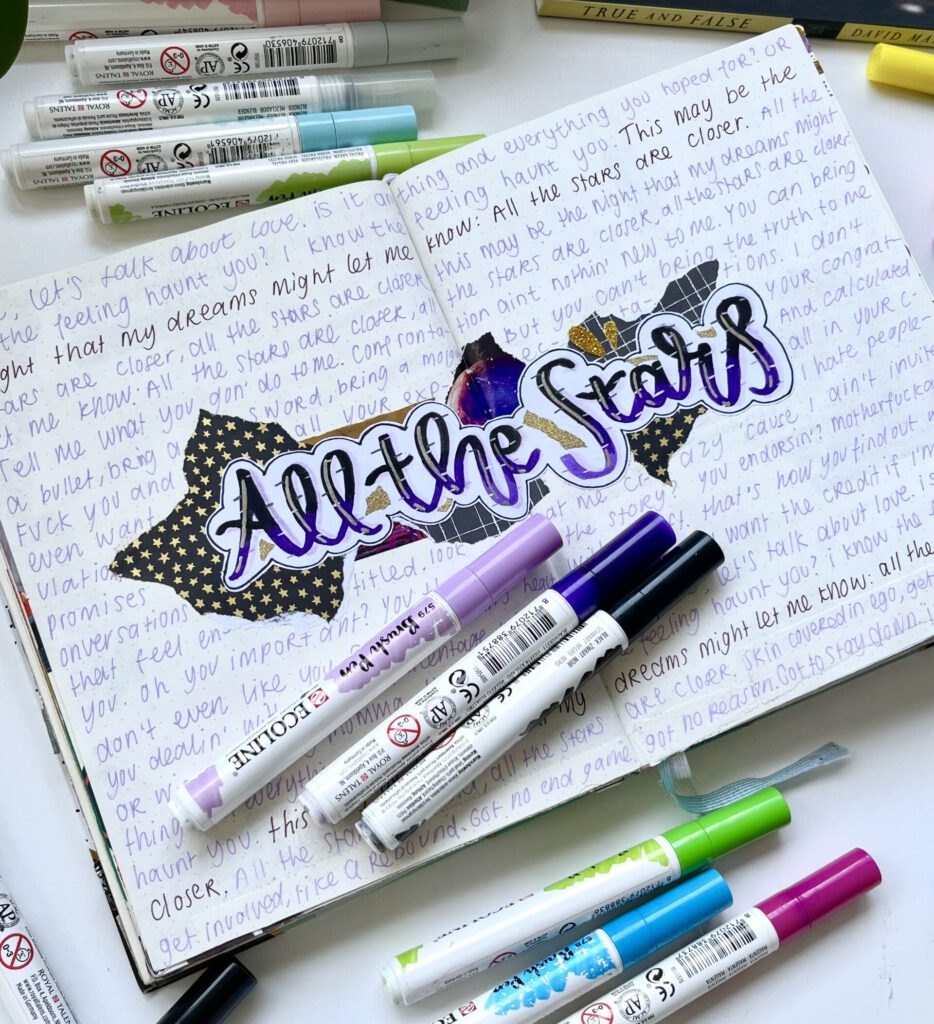
Next up: my go to for lettering. The Ecoline brush pens always do the job for me. They have great coverage and a BIG variety of colors both in sets and single pens. I started out with a 10-piece basic colors set, that got me a long way. Fun fact, these are one of the brush pens that I started my lettering journey with. They’re great for titles, shading and even drawing.
After a while I realized to get my lettering to the next level I’d need some shading. That’s when I got my second set: the pastels edition. These two sets are still the ones I use to this day. One of my favorite techniques using the pastels is to load up the brush with a different or darker shade, which creates a really cool ombre effect!
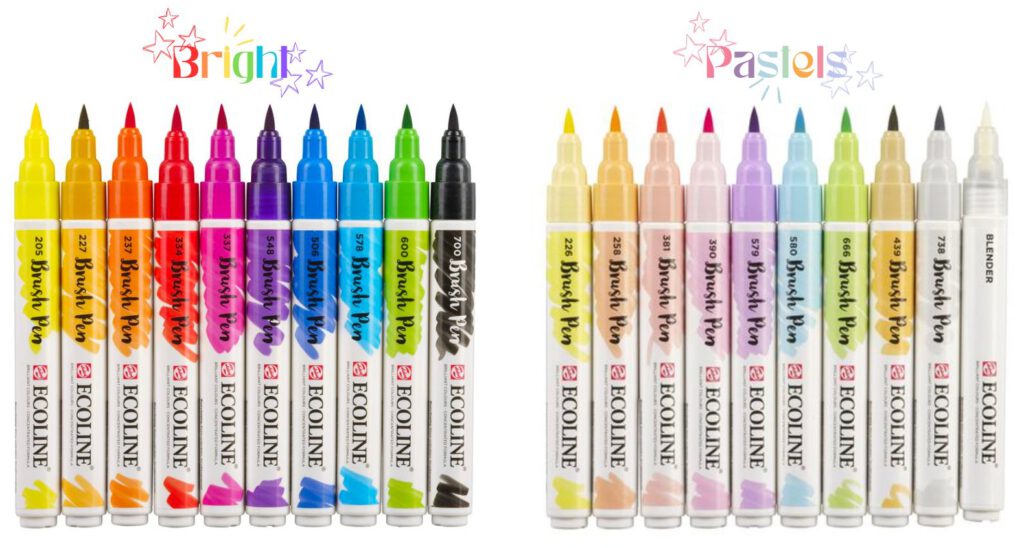
I think I ended up buying some separate pens for a few specific colors I didn’t have later on. As for the quality of these: as I mentioned before they have great coverage and bright color. The tip is very easy to control thickness with. Even after literal years of use, the tip hasn’t gotten so damaged that it’s weak and blunt like I’ve experienced with some other brands.
The only downside I experienced with these is that they bleed through quite a bit. The best fix for me is to either go over the paper fast, if I’m doing some simpler designs, or what I’ll usually do is draw my lettering on a separate piece of paper, cut it out and glue it onto my page.
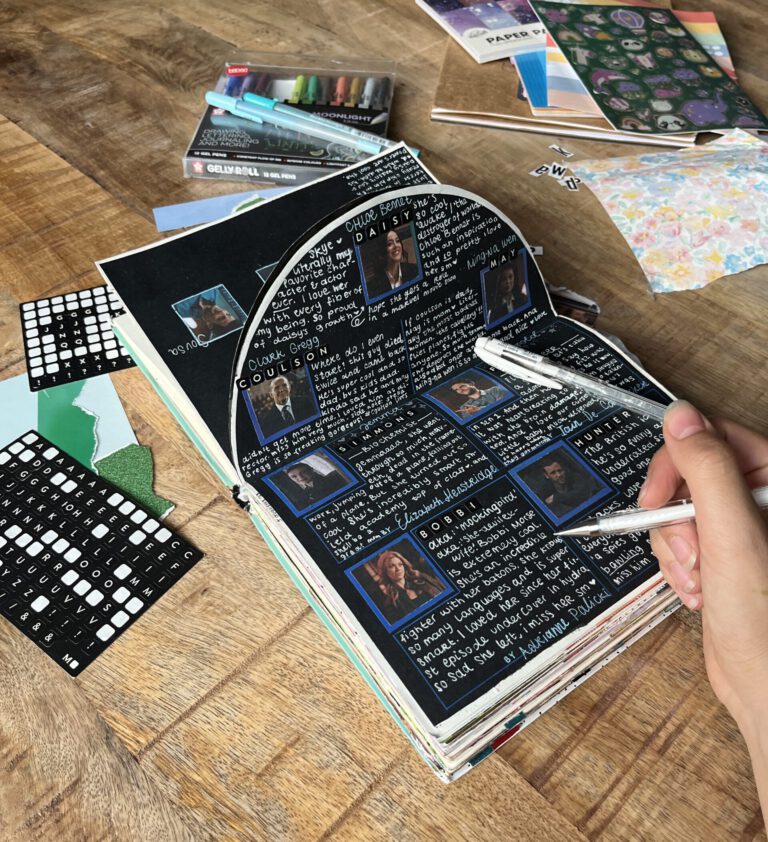
This one is a must-have for me. It’s white fineliner that has very good coverage on darker backgrounds. I use it a lot to write, outline and even add highlights to lettering. In some situations it requires a second coat to get to a bright white state, but it works on any background and has a really smooth roll.
In the picture below you can see me using it to write on a dark background, which works great, but this pen’s got more uses! I like to use it to add highlights to lettering I did with the Ecoline brush pens mentioned above, or to add doodles on top of a picture!
The last pens I want to talk about are these black fineliners. They’re a basic need in my opinion. They can be used for drawing, letterling, outlining, writing and doodling and much more I’m sure. I have 3 sizes: 0.2 mm, 0.5 mm and 0.8 mm. I love to have this variety so I can choose which size fits best in the current project. With a thicker one I might draw and fill in small drawings and with the thinnest ones I can perfectly finetune lines or write very small.
I use the ones by Staedtler, but I’m sure any black fineliner does the job. If you do want the ones I have, I found a 3 piece set with 0.3 mm, 0.5 mm, and 0.8 mm, but all of the sizes are also separately available.
Glue
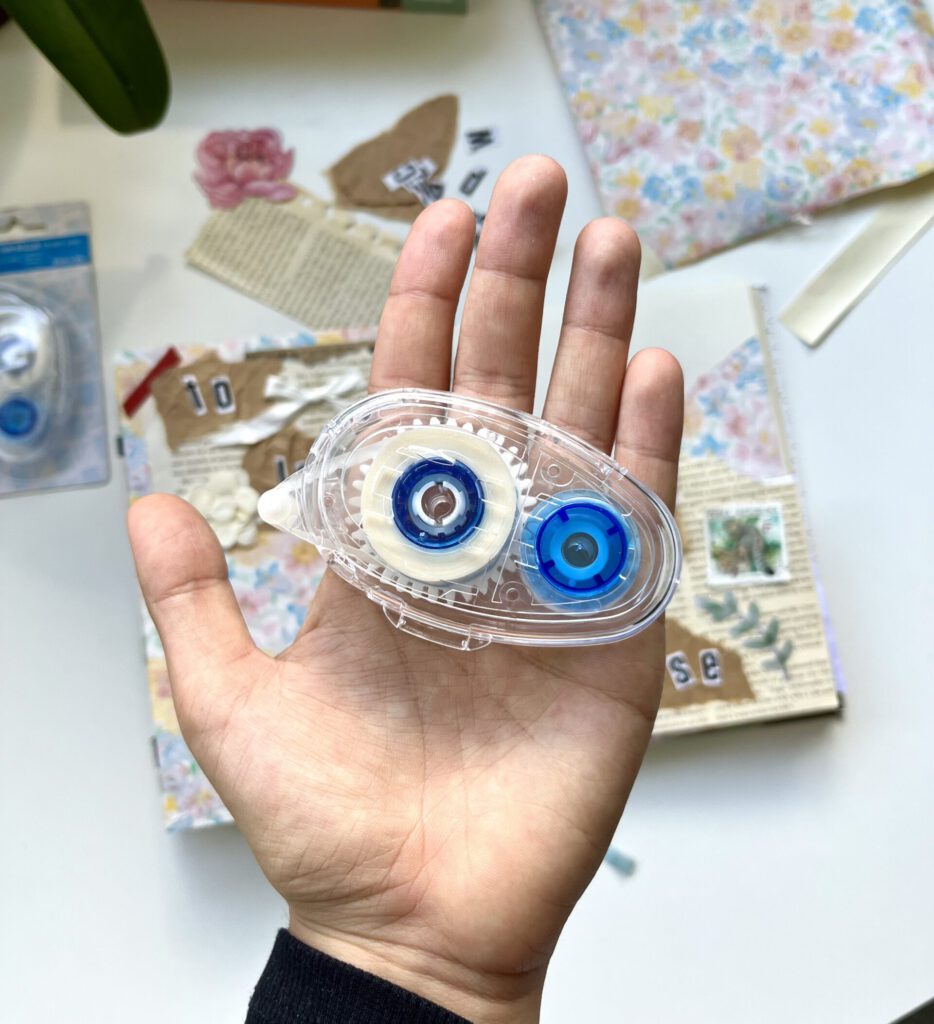
For gluing I honestly only use 2 options: glue stick or glue tape roller. My favorite by far is the tape roller. They are super cheap and leave minimal mess. You just roll the roller along the edges of anything you want to stick and press it onto the desired surface. It sticks really well and doesn’t cause any bumps under your paper. I highly recommend going to some dollar stores and searching for cheap, off-brand ones there because the branded ones tend to be ridiculously expensive.
The only thing I hate about these is that they run out quite fast and when they do, they’re useless and you have to throw the whole thing out. It feels like a big waste of plastic because I run out so fast. I know they have refillable options, but even then there is still a lot of plastic you’re throwing away. So all-in-all: the application and use is great, but it’s not really eco-friendly.
The classic glue stick is another option I might use more with very small objects or really intricate shapes. It works great, but is just very messy. If you’re like me, you’ll end up with that stuff all over your hands. It also leaves a bit of bumps under your paper because of small lumps in the glue. Basically, the glue stick is my second option. Works great, but not my favorite.
Deco paper and scraps
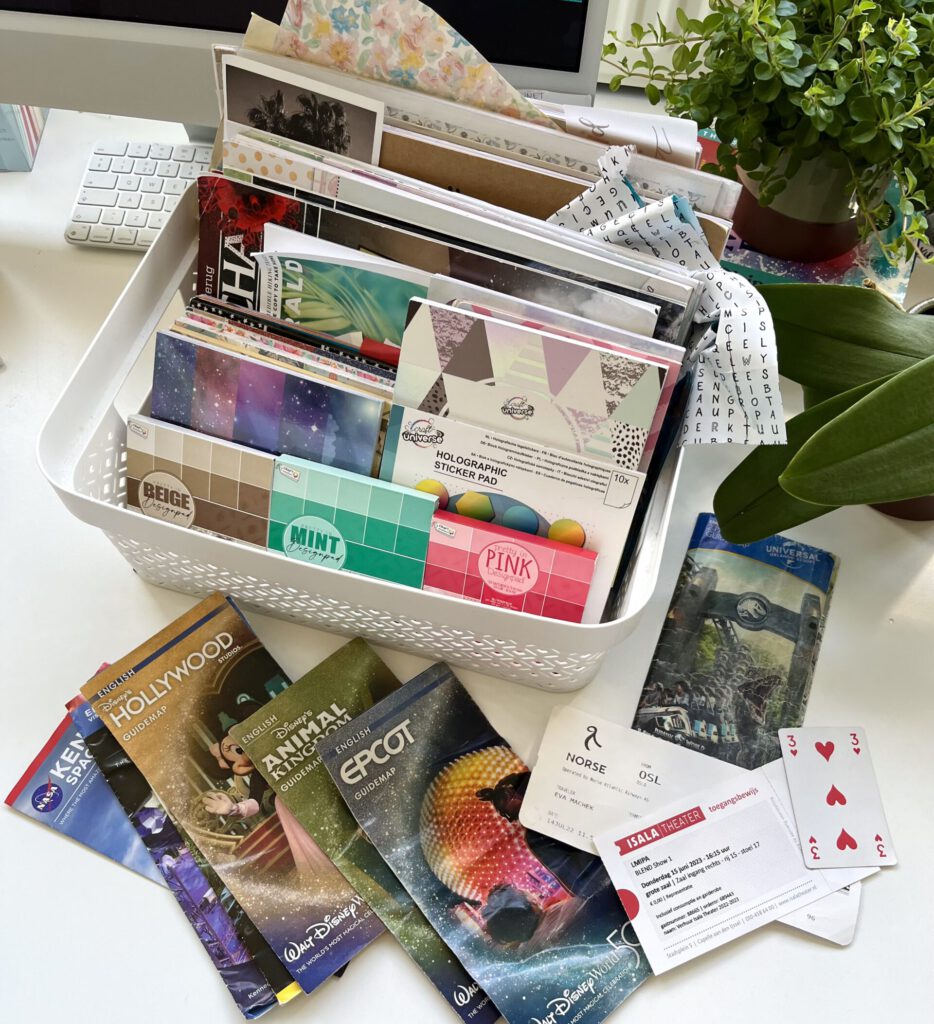
For paper, just get as creative as possible. I always like to have some deco paper pads at hand as a start. Most of mine were just bought in random stores when I ran into them. A lot of them are by a brand called ‘Craft sensations’. Having different themes paper pads helps you lay out and decide on your theme when starting a new spread.
Furthermore, I use everything I find including wrapping paper on gifts I received, tickets to movies, boarding passes, maps, flowers (dry them), MAGAZINES! Omg guys, magazines are the best source of journaling material. They usually have great photos, colorful patterns and the best part: you can use letters from your magazine to cut out and create your own titles with. I always think this gives such a nice touch to a page.
Tape and stickers
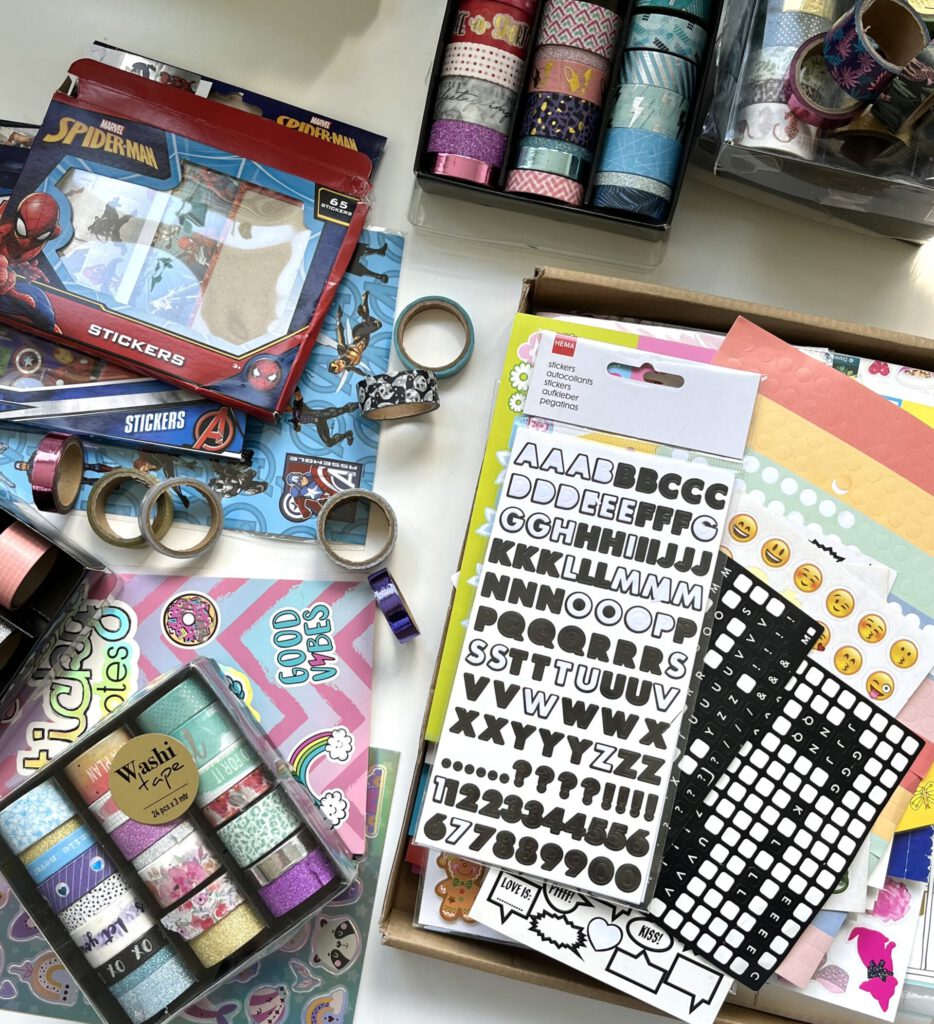
Washi tape can be such a nice addition to a page. It comes in so many patterns and is easy to work with. Most of the rolls I have are from craft sensations again. I just found them at a store in the Netherlands. They come in these really nice themed packs of 24 pieces and the quality is great.
But washi tapes are available in SO MANY different shapes, patterns and colors online that you’ll have to do a little deep dive yourself to see what you like. Start here and see for yourself!
Don’t stop your creativity by just using the tape as it is! I use these rolls by cutting them in half for a thinner line, creating a background by using multiple lines, and I even like to cut them into small hearts or stars to use as a sticker!
Stickers
As for stickers: there are two categories in my opinion. First you have the ones that are shapes: circles, stars, hearts in all kinds of colors. They are a great way to add a little more dimension and playfulness to your pages. To this same category I count alphabet stickers. I LOVE these to use for names, titles, quotes etc. Most of these you can just get at a store that sells office supplies.
The second category of stickers are the ones with actual print. Flowers, smileys, animals, superheroes, etcetera. Most of these I got from craft stores or kids sections at different stores. I don’t necessarily use these often, but when they fit your theme, they can be great additions to your page. I have a WAY too big collection of Marvel stickers, but I’m proud of it.
For stickers, there is also such a huge market online. I’m convinced you can buy stickers in every single theme you think of. Also a great gift idea by the way!
That was all I wanted to talk about for this post. I hope you got some useful tips out of it. Let me know what you think about the products I mentioned and if there’s any products I should try, comment them! Thank you for reading <3
And a bonus picture of one of my favorite journal spreads:
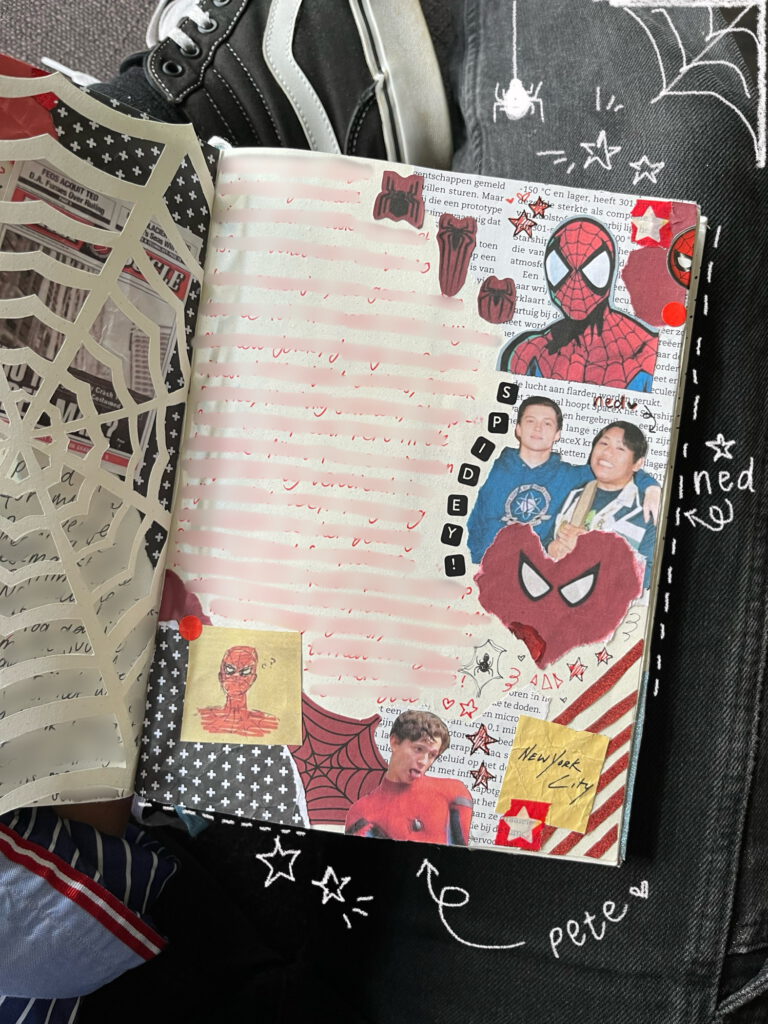
- If you want to see more of my journal pages, click below to see the Headlinerz official Pinterest page and take a look under the tab: ‘Journal’. Don’t forget to follow!
- This post contains affiliate links. Whenever you buy a product through one of these links, I earn a small commission. This does not affect the price for the buyer!
