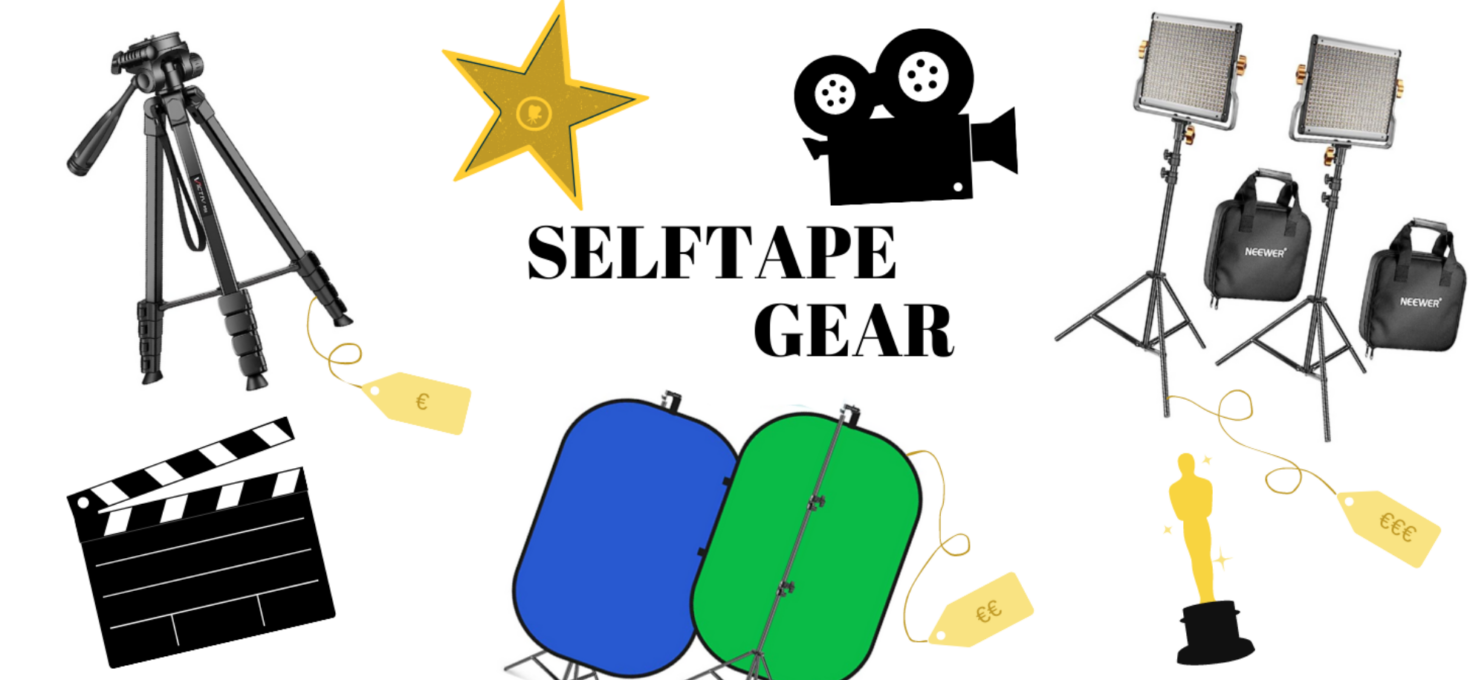
In the last post we talked about self tapes and the do’s and don’ts. Today, as promised, I’ll walk you through some of my favorite pieces of gear that make your self tapes look so much more professional and make the process easier. So if you’re ready to step up your auditioning game, keep reading!
1.LIGHTS
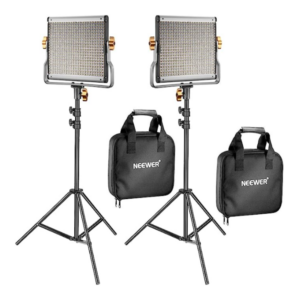
Good lighting is key in self tapes. That’s why one of the first things I invested in was some good lights. I bought these Neweer led panels and they’ve been working really well for me for the past YEARS. Neweer has a lot of different sets, but I chose this one because it has all I need: An option to set the lights to a more yellow or white tone and the option to dim the light. Since I use it for self tapes, I don’t really need the rgb colored options. But if you’re a filmmaker, they could be useful!
What I love most about having good lamps available is that I can literally film in the middle of the night when I’m in a time crunch!
Remember: If you’re not yet at a point where you can / want to invest in lamps, just make sure to film in daylight and close to a window. Artificial lighting can make your video look unprofessional and yellow.
Amazon Neweer Lights: €181,99

2. CHROMAKEY BACKDROP
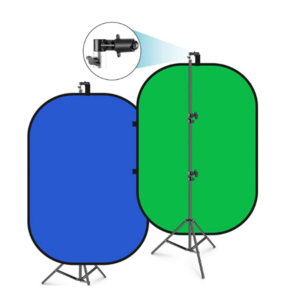
You know those celebrity casting videos? Ever noticed they’re usually using blue backgrounds? I remember starting my self tape journey in front of an ugly wall and dreaming of a backdrop 
This one, also by Neweer, is so easy to set up, because it does this pop up thing just like those little tents when you were younger. Just take it out of the case and it will pop up to a big backdrop. I personally got the one below. It has a green and a blue side. Looking back, I think I’d recommend one that has a gray and blue side. I never really use the green, and gray can also be used for self tapes. However, if you wanna have a green screen at home, this one is perfect.
Amazon Backdrop: €93,99

3.TRIPOD
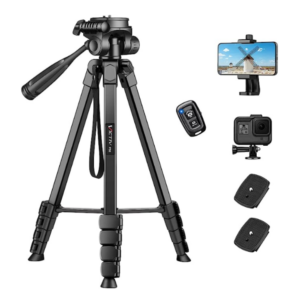
If you’re anything like me, you’re always struggling with framing in your self tapes. I used to build weird constructions of chairs, books and plants to get my phone at the right height. Having a good phone stand makes this so much easier haha. The only thing that is important is that it holds your phone, and is tall enough to reach eye-height. I personally just wanted an affordable one that would do the job, so this one works well for me.
As for framing: get your camera to eye height and frame it from the chest up. Make sure to leave a little room for your head. If you want an example of how I frame mine check out this post!
Amazon Tripod: €28,99

If you want a more in depth guide to self tape auditions, check out this previous post!
I hope these gear suggestions will help you level up your audition game! Kill it!
- This post contains affiliate links. Whenever you buy a product through one of these links, I earn a small commission. This does not affect the price for the buyer!
